How to Grow Mushrooms in a Monotub: A Step-by-Step Guide for Beginners

Boost your mushroom cultivation skills with this detailed monotub tek guide—perfect for home growers!
Introduction to Monotub Cultivation
A monotub is a modified plastic container designed to create an optimal environment for growing mushrooms. This method is favored for its simplicity, cost-effectiveness, and ability to produce large yields in small spaces. Popular for species like Psilocybe cubensis and oyster mushrooms, monotubs maintain high humidity and regulate fresh air exchange (FAE) to support colonization and fruiting.
In this guide, we’ll walk you through setting up a monotub, avoiding common pitfalls, and maximizing your harvests. Let’s dive in!
Materials You’ll Need
Before starting, gather these essentials:
- Monotub: A 20–66 quart plastic storage tub with a lid (e.g., Sterilite)
Note: Many companies are selling pre-made monotubs. This not only saves you time and money, but can save you the hassle of making your own. I’ve ruined countless tubs during my journey, and I always recommend pre-made tubs if you have the money. This kit is one of the best values we have found and includes everything you need.
- Substrate: CVG (Coco Coir, Vermiculite, Gypsum) is ideal for moisture retention. Recipe:
- 650g coco coir
- 2 quarts vermiculite
- 1 cup gypsum
- 4.5 liters boiling water
- Grain spawn: Colonized with mushroom mycelium (e.g., rye, millet, or wheat berries)
- Tools: Drill (for air holes), 1.5″-2″ hole bit, micropore tape or polyfill, black trash bag (to prevent side-pinning), 5 gallon bucket with lid, spray bottle, gloves, and 70% isopropyl alcohol
If you don’t want to worry about missing anything, Myco Labs Store has a complete kit with tub, substrate and sterile grain. If going this approach you would need to inoculate the grain yourself.
Step-by-Step Setup
1. Prepare the Monotub
- Drill air holes: Create 6–8 holes (1.5–2 inches in diameter) around the tub:
- Two rows (side): One hole 4–6 inches from the base
- One row (end): One hole two inches from the top of the tub
- Cover holes with micropore tape or polyfill to filter contaminants
- Line the tub: Use a black trash bag on the inside of the tub to block light and prevent mushrooms from forming on the sides (“side-pinning”). The liner will need to cover the bottom and the sides up to the point that the bottom holes are obstructed. So cut accordingly.

2. Pasteurize the Substrate
- Mix CVG ingredients in a 5 gallon bucket, bring your water to a boil, pour over dry ingredients, and seal the container for 1–2 hours. Let cool to room temperature
- Test hydration: Squeeze a handful—only 1–2 drops should fall out (“field capacity”)
- See our BucketTek guide for a more comprehensive walkthrough
Note: It is often easier to buy premade substrate. There are many really good choices for premade substrate on Amazon.
3. Spawn the Substrate
- Sterilize: Wipe the tub, tools, and hands with isopropyl alcohol
- Mix spawn and substrate: Layer colonized grain spawn with substrate in a 1:2 to 1:4 ratio. Mix thoroughly for even colonization
- Add a casing layer (optional): Apply a 0.5–1 inch layer of pH-adjusted peat moss or vermiculite to retain humidity. See here for our casing layer guide.
4. Colonization Phase
- Seal the tub and store in a dark, warm spot (75–80°F / 24–27°C) for 10–20 days. Avoid opening it until the substrate is fully covered in white mycelium. During this phase it is often common practice to cover the holes with tape. Masking tape works fine and will not damage the micropore tape if already applied.
5. Trigger Fruiting Conditions
- Introduce light and FAE: If taped with masking tape, you will want to remove this from the air holes so that the holes are only covered with micropore tape, provide 12 hours of indirect light daily, and lower temps to 70–75°F (21–24°C)
- Mist and fan: Lightly spray walls 1–2 times daily and fan the tub 2–3 times to reduce CO₂
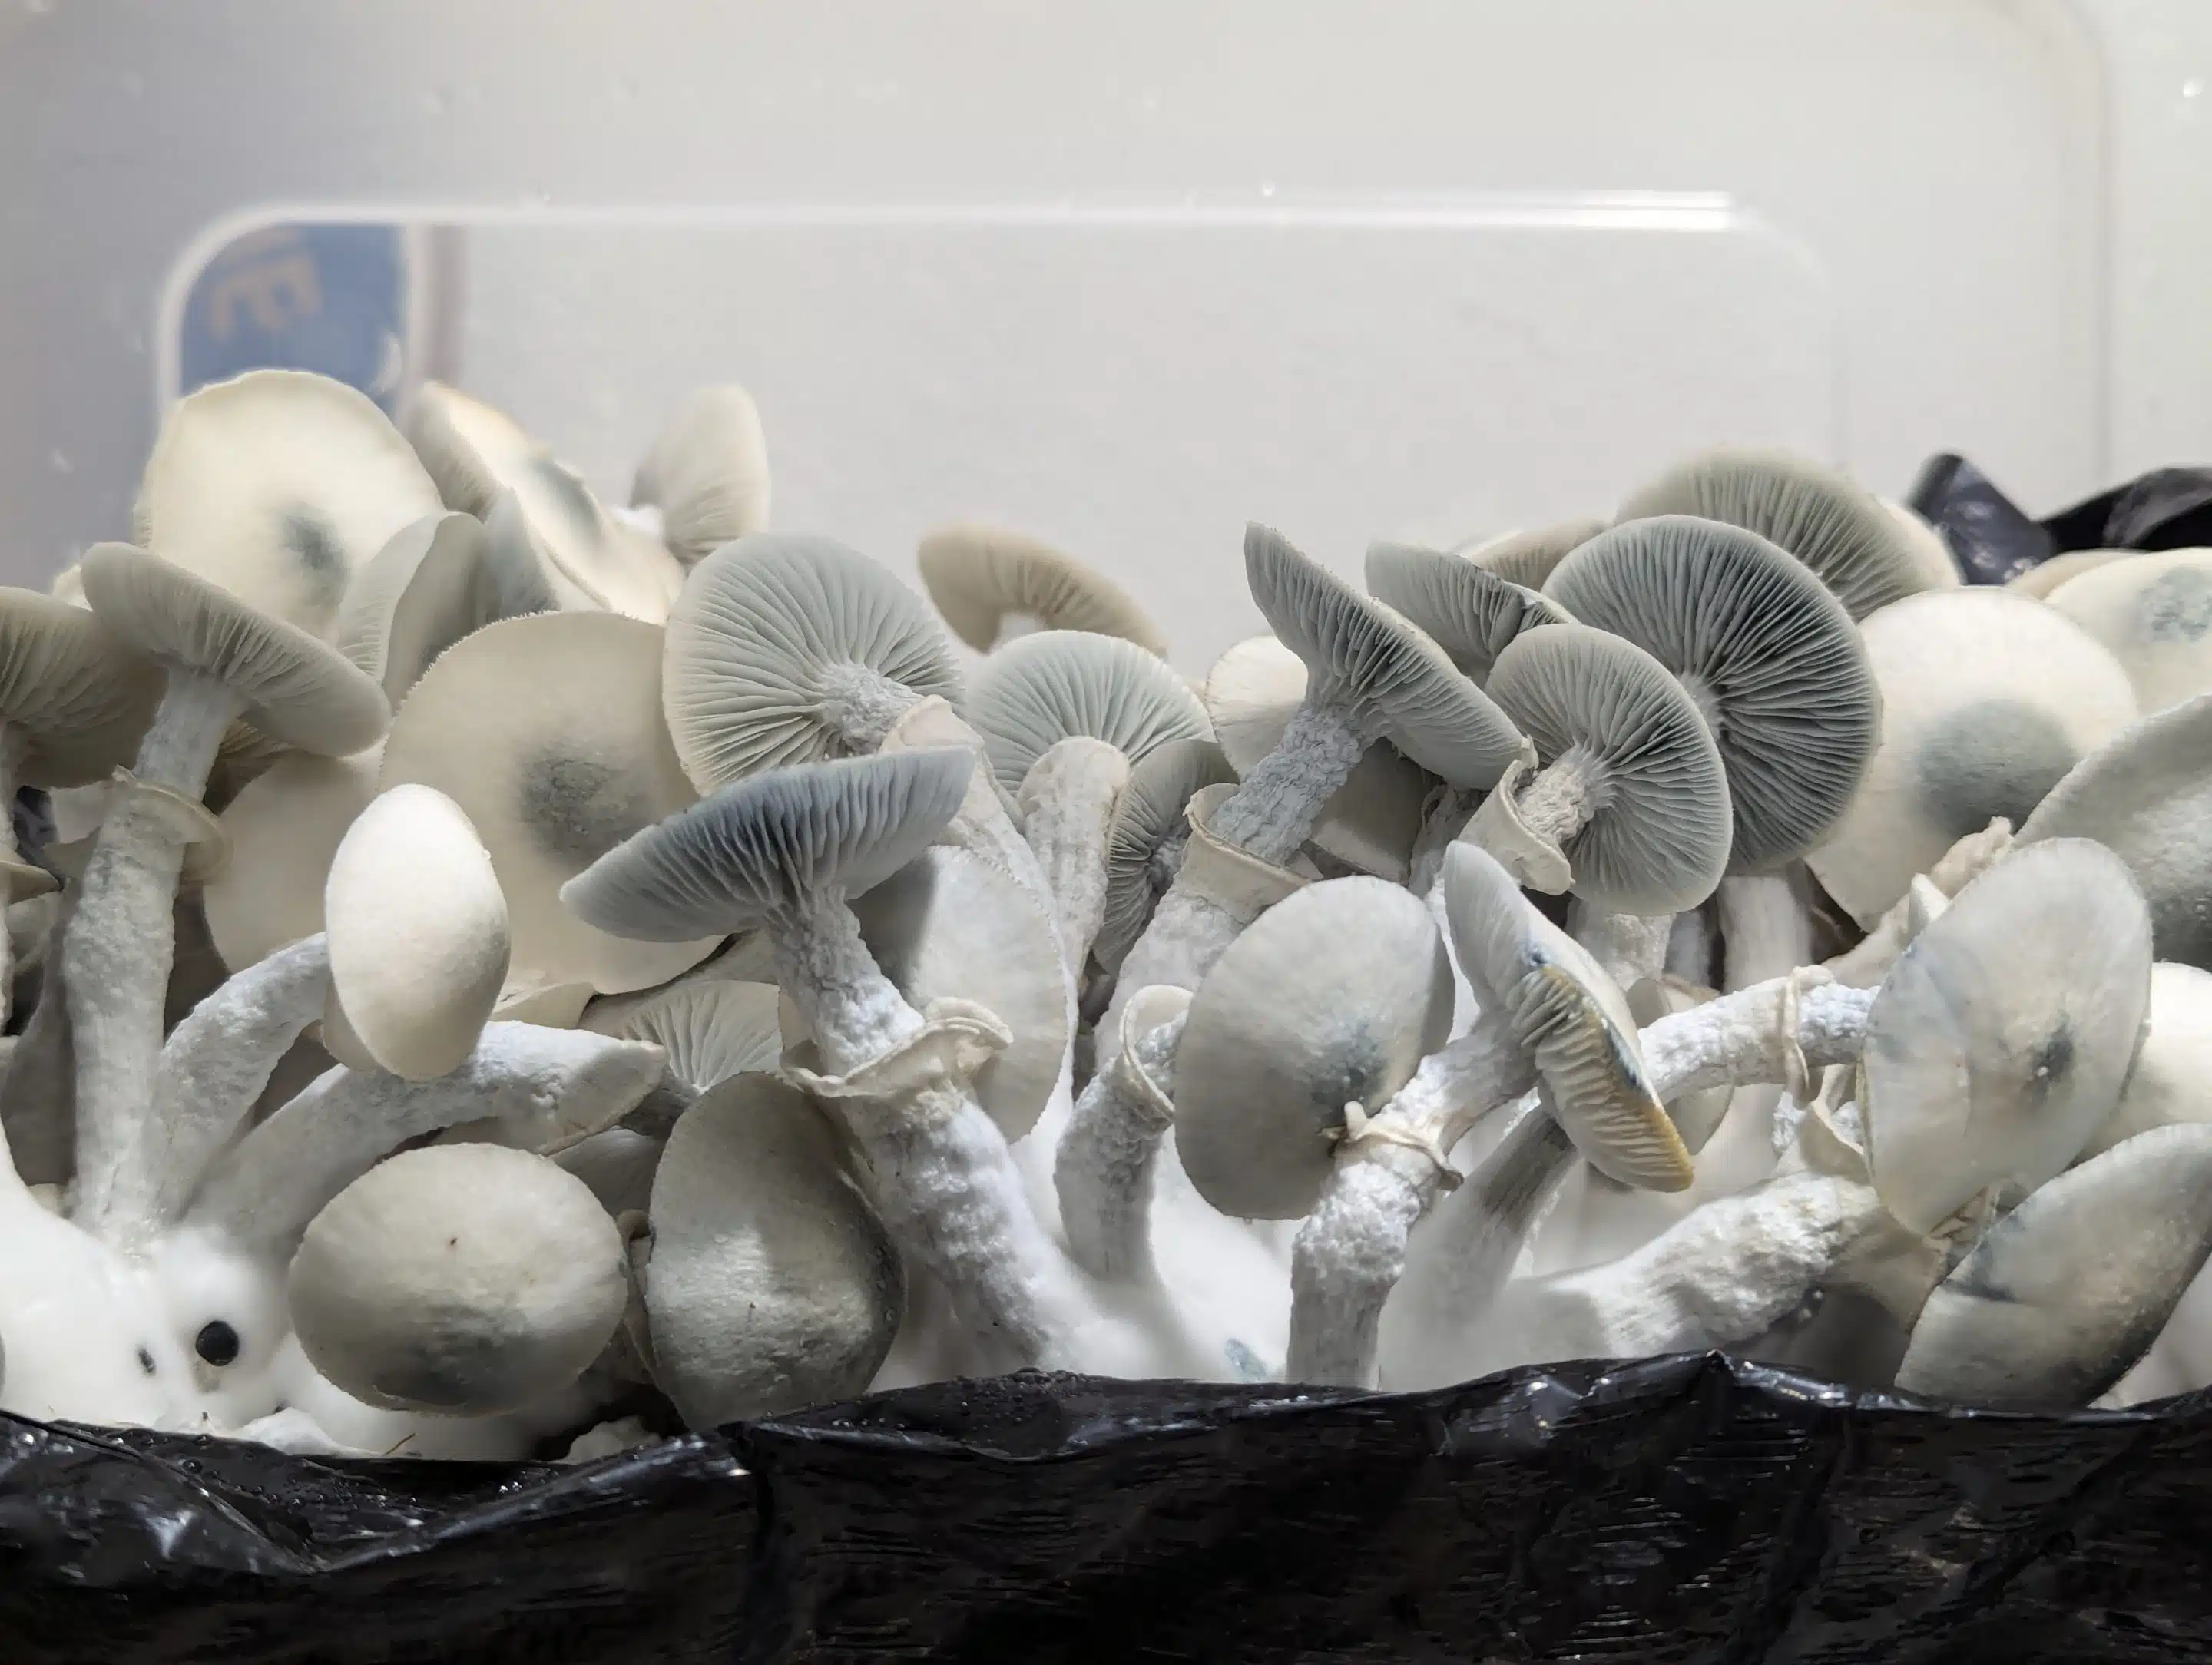
6. Harvesting
- Harvest mushrooms when the veil beneath the cap starts to tear. Twist gently at the base to avoid damaging the mycelium
- Rehydrate for flushes: Soak the substrate in cold water for 1–2 hours between harvests. Expect 2–4 flushes per tub
Common Mistakes to Avoid
- Over-misting: Excess water breeds bacteria. Only mist if condensation disappears
- Poor sterilization: Always sanitize tools and workspace to prevent mold (e.g., trichoderma)
- Neglecting FAE: Fuzzy mycelium (“aerial hyphae”) signals low oxygen—fan more often
- Using low-quality spawn: Prioritize vigorous mycelium from reputable sources
FAQs
Q: How long does colonization take?
A: Typically 10–20 days, depending on temperature and spawn ratio
Q: Can I reuse my monotub?
A: Yes! Clean it with 10% bleach solution between uses
Q: What mushroom species work best?
A: Psilocybe cubensis, oyster, and shiitake thrive in monotubs. Avoid species requiring complex environments
Q: Why aren’t pins forming?
A: Check humidity, FAE, and temperature. Scratching the surface (“forking”) can stimulate pinning
Pro Tips for Success
- Document your grows: Track variables like humidity and spawn ratios to refine techniques
- Use a liner: Prevents side-pinning and simplifies cleanup
- Start small: Experiment with smaller tubs before scaling up
Conclusion
Monotub cultivation is a rewarding way to grow mushrooms at home. By mastering substrate preparation, sterilization, and environmental control, you’ll enjoy bountiful harvests with minimal effort. For more guides on contamination prevention or advanced techniques, explore our FAQ Guide or Substrate Recipes.
Happy growing, and may your flushes be plentiful! 🌱🍄