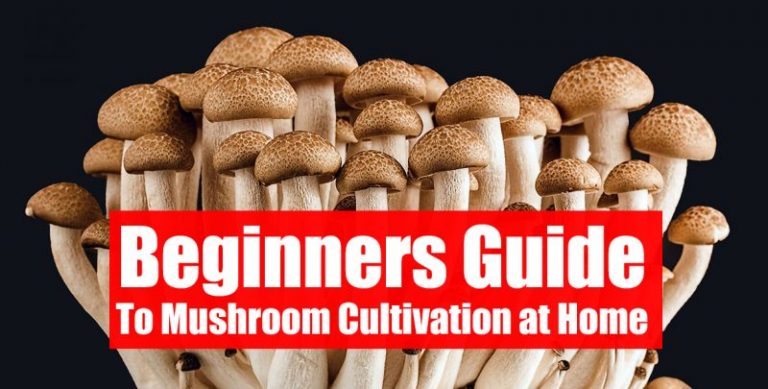
Mushroom Cultivation 101: Starting with Spores
Alright newbies, so you’re itching to grow your own magical fungi? Awesome choice! Welcome to the wonderful world of mushroom cultivation. Don’t worry, it’s not as intimidating as it sounds. We’re gonna break it down, nice and easy, starting with the absolute beginner-friendliest method: spores!
Yeah, yeah, I know what you might be thinking: “Spores? Sounds kinda… sciency.” Trust me, it’s less lab coat and more… well, more like baking, but with, you know, living things that are way cooler than cookies.
(What ARE Spores Anyway?)
Think of spores like mushroom seeds. Except, they’re not actually seeds. Mycology, gotta keep us on our toes, right? Basically, they’re tiny little reproductive units that mushrooms release by the BILLIONS (seriously, billions!). They’re microscopic, meaning you can’t really see individual spores with the naked eye unless they’re clustered together. When they land in the right environment – BAM! Potential for mushrooms. It’s kinda magical when you think about it. Tiny invisible dust turning into… dinner (or… you know… experiences).

(Why Start with Spores? The Good, The “Meh,” and The Hilarious Patience Game)
Starting with spores is like the training wheels of mushroom growing. Here’s the lowdown:
The Awesome:
- Simplest Entry Point: Seriously, it’s about as straightforward as it gets. You’re basically going from spore to grain. Less steps, less fuss.
- Readily Available (and Budget-Friendly): Spore syringes are super easy to get your hands on from reputable vendors online. And they’re generally pretty cheap! Think of it as a low-cost ticket to the myco-verse.
- Great for Learning the Basics: It forces you to understand the foundational steps of sterilization and inoculation right from the get-go. Solid foundation = mushroom success later on.
The “Meh” (aka, things to be aware of):
- Patience, Padawan!: Spores gotta germinate, find a partner (because mycology is also kinda like dating!), and then start colonizing. It’s a slower process than starting with, say, agar (we’ll get to that in Part 2!). If you’re impatient, maybe try knitting first. Just kidding… mostly.
- Genetics Lottery: When you start from spores, you’re getting a mix of genetics. This is cool for genetic diversity, but it also means you might get a bit of a mixed bag in terms of fruiting speed, size, and… other characteristics. It’s a little less predictable than cloning or starting from isolates.
- Contamination Risk: Starting from spores is a risky proposition as it compares to an isolated liquid culture or agar culture. This is do to collection methods and systems from the vendor. However, I have had very little contamination when going from spores to spawn in my experience. Just know its a risk.
(Okay, I’m In! How Do I Actually DO It?)
Alright, enough chit-chat. Let’s get down to the nitty-gritty. Here’s a simplified, beginner-friendly rundown of how to start your mushroom cultivation journey with spores. We’re gonna keep it real simple for this 101 intro.
(Your Spore-Starting Supply List – Keep it Simple, Silly!)
- Spore Syringe: Get your spores from a trusted source! Do your research, folks. Don’t go digging around in random fields unless you really know what you’re doing (and even then, maybe not for your first grow).
- Sterilized Grain Jars or Bags: Some great online vendors, but do your research, look at reviews, etc… Uncle Ben’s rice bags are a quick option. Or you can make your own grain jars. Sterility is KING, remember that.
- Isopropyl Alcohol (70%): For sanitizing EVERYTHING. Seriously. Your hands, your workspace, your cat if it gets too close (kidding… mostly).
- Lighter (or Butane Torch): For sterilizing your needle. Fire is your friend… when used responsibly, of course.
- Micropore Tape: Breathable tape to cover your inoculation points. Lets air in, keeps nasties out. Like a bouncer at a VIP mushroom party.
- (Optional but Recommended) Still Air Box (SAB) or Glove Box: Seriously ups your chances of success by minimizing air currents and contamination. Think of it as your sterile fortress of fungi-tude.
(Spores to Grains: The Super Simple Steps)
- Sanitize Like Your Life Depends On It: Clean your workspace. Wipe everything down with isopropyl alcohol. Wash your hands like you’re a surgeon about to perform brain surgery on a mushroom. Seriously, cleanliness is key.
- Flame Sterilize Your Needle: Heat up your spore syringe needle with your lighter until it’s red hot. Let it cool for a sec (don’t burn your plastic!). This kills any lurking contaminants.
- Inoculate Your Grain: Open your sterilized grain jar/bag in your SAB/glove box. Inject about 3-5cc of spore solution through the injection port (or through a point you create and immediately cover with micropore tape). The goal is to get the spores inside the sterilized grain. Think of it like planting seeds.
- Cover and Wait (The Hard Part for Impatient People): If you made your own injection point, cover it with micropore tape. Put your inoculated jars/bags in a clean, dark-ish place at a good temperature (around 70-75°F is usually good). And then… DO. NOT. TOUCH. THEM. Patience, grasshopper.
- Watch for Mycelium Magic!: Over the next few weeks (yup, weeks!), keep an eye out for white, fluffy growth spreading through your grains. That’s mycelium! That’s the good stuff! That’s your mushroom roots taking hold. Contamination will usually look… less appealing (moldy, colorful in a bad way, slimy). Google “mushroom contamination” images if you want to be prepared for the dark side.
(Patience is a Virtue (Especially in Mycology))
And that’s it for starting with spores! The biggest thing you need now is patience. Seriously. Don’t keep checking on them every five minutes. Don’t open them up to peek. Just let them do their thing. Mycology is a lesson in… fungal chill.
Once your grains are fully colonized (usually white and solid – you’ll know it when you see it!), you’re ready for the next stage: spawning to bulk substrate and fruiting! But that’s a story for another day (and another blog post series, maybe?! 😉).
(Stay Tuned for Part 2: Level Up with Agar!)
In Part 2, we’ll dive into starting with agar – a slightly more advanced technique that gives you more control and opens up a whole new world of myco-possibilities. But for now, get your spores ready, sanitize everything, and get ready to witness the amazing (and slightly slow-motion) magic of spore germination!
Happy Growing (and may your patience be stronger than your desire to peek)!